- 01 Jul 2021
- Linksys
- Linksys Extender Setup Troubleshooting
- Comments: 0
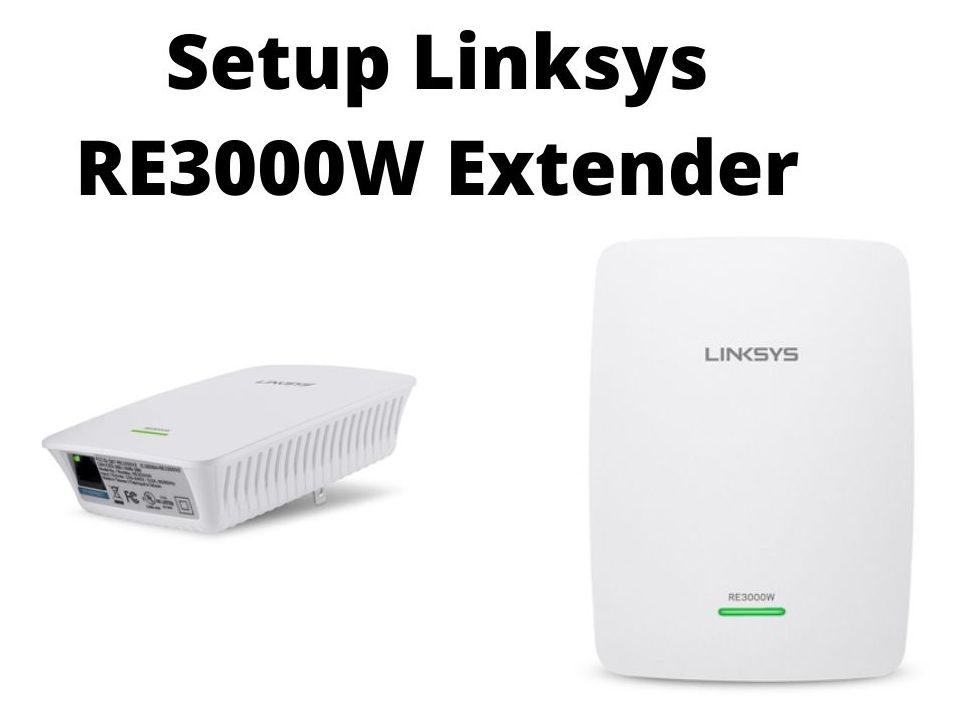
Linksys RE3000W Extender extends the range of your internet and eliminates dead spots. The RE3000W should be plugged into a power outlet to extend wireless internet connectivity to the far reaches place of your home and office. It can provide you a range of up to 5000 square feet. The Linksys RE3000W has a single wireless band of 2.4GHz & can speed up to 300 Mbps to extend your Wi-Fi and also it has one ethernet port that allows you to establish a wired connection to a laptop or desktop.
Universal compatibility
The Linksys extender setup re3000w reset is compatible with any Wi-Fi router or gateway. It is a very simple device to connect to your current wireless network at the same time it also boosts up the internet signals to your Wi-Fi dead zone devices.
Ethernet port for easy setup
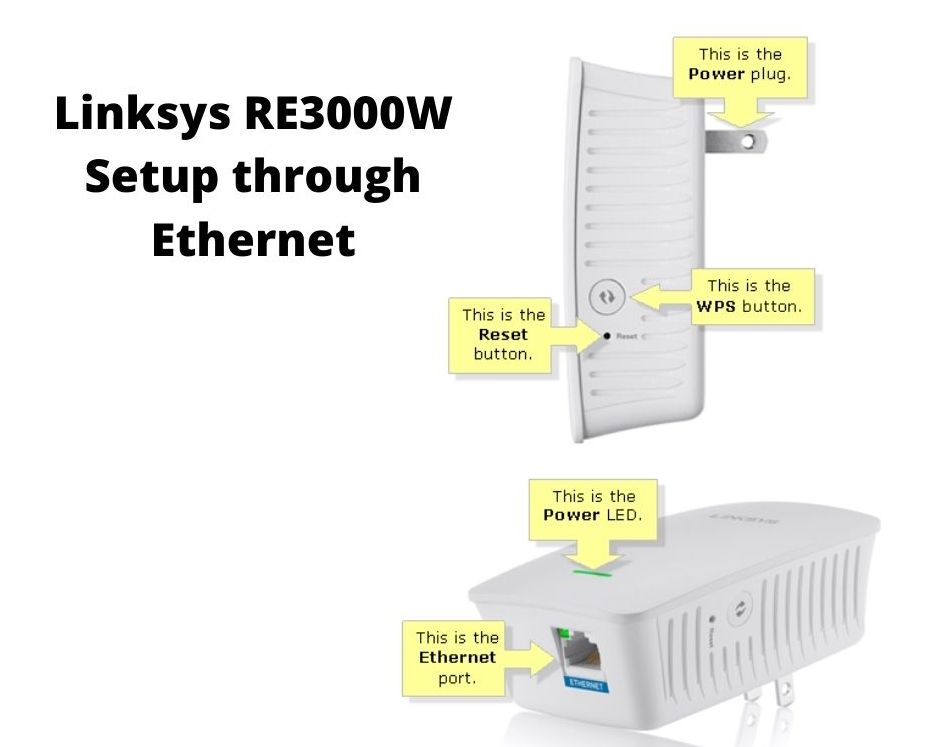
- Firstly, Plug in the wifi range extender to the power outlet.
- Connect an ethernet cable in between your extender and router.
- Once the light will turn to solid green then connect to the wifi network (default name LINKSYS EXTENDER SETUP).
- In the address bar type “Extender.Linksys.setup or https://extenderlinksyssetup.com/” or 192.168.1.1 (follow steps in Quick Installation Guide)
- Moreover, Once the screen appears, click Start then click on I agree.
- Select your wireless name and SSID
- Lastly, Enter the password of your wireless network Then, click Next to connect to your network
After successfully connecting you will see a confirmation message saying,
Your Linksys extender is now Setup
Note: Once your Linksys RE3000W is configured to your network, it will obtain an IP Address from your existing DHCP server.
Click Here to download Linksys App for Android || for IOS.
Related Posts
Why is my Linksys RE6500 WiFi Range Extender disconnecting so frequently?
12 Jan 2022 0How Do You Setup Linksys RE1000 Wireless Range Extender?
12 Jan 2022 0Is Your Linksys Extender Failing to Broadcast SSID?
11 Jan 2022 0